Rebirth of a table
Together, we assume that the woods of the pallets or platforms can be manufactured with very different types of wood (poplar, fir, pine, beech) and their performance depends on the quality and quantity of virgin material used in the production. So if the platform or the pallet is used for a purpose other than the original one, it is good to think about applying protective treatments for the wood, especially if the intended use is for outdoors. Personally, for my garden I have not used products other than a transparent liquid sheath that forms a protective veil or eco-compatible water-based protective products. But since they are soft woods, between the temperature range, the rain, the cold or the winter frost, in short, the bad weather to which a garden is subjected … it is inevitable that after one or two years the wood will start to rot. In these photos you can see how, starting from a mostly rotten table, I started by removing all the moldy or rotten parts.
STEP 1
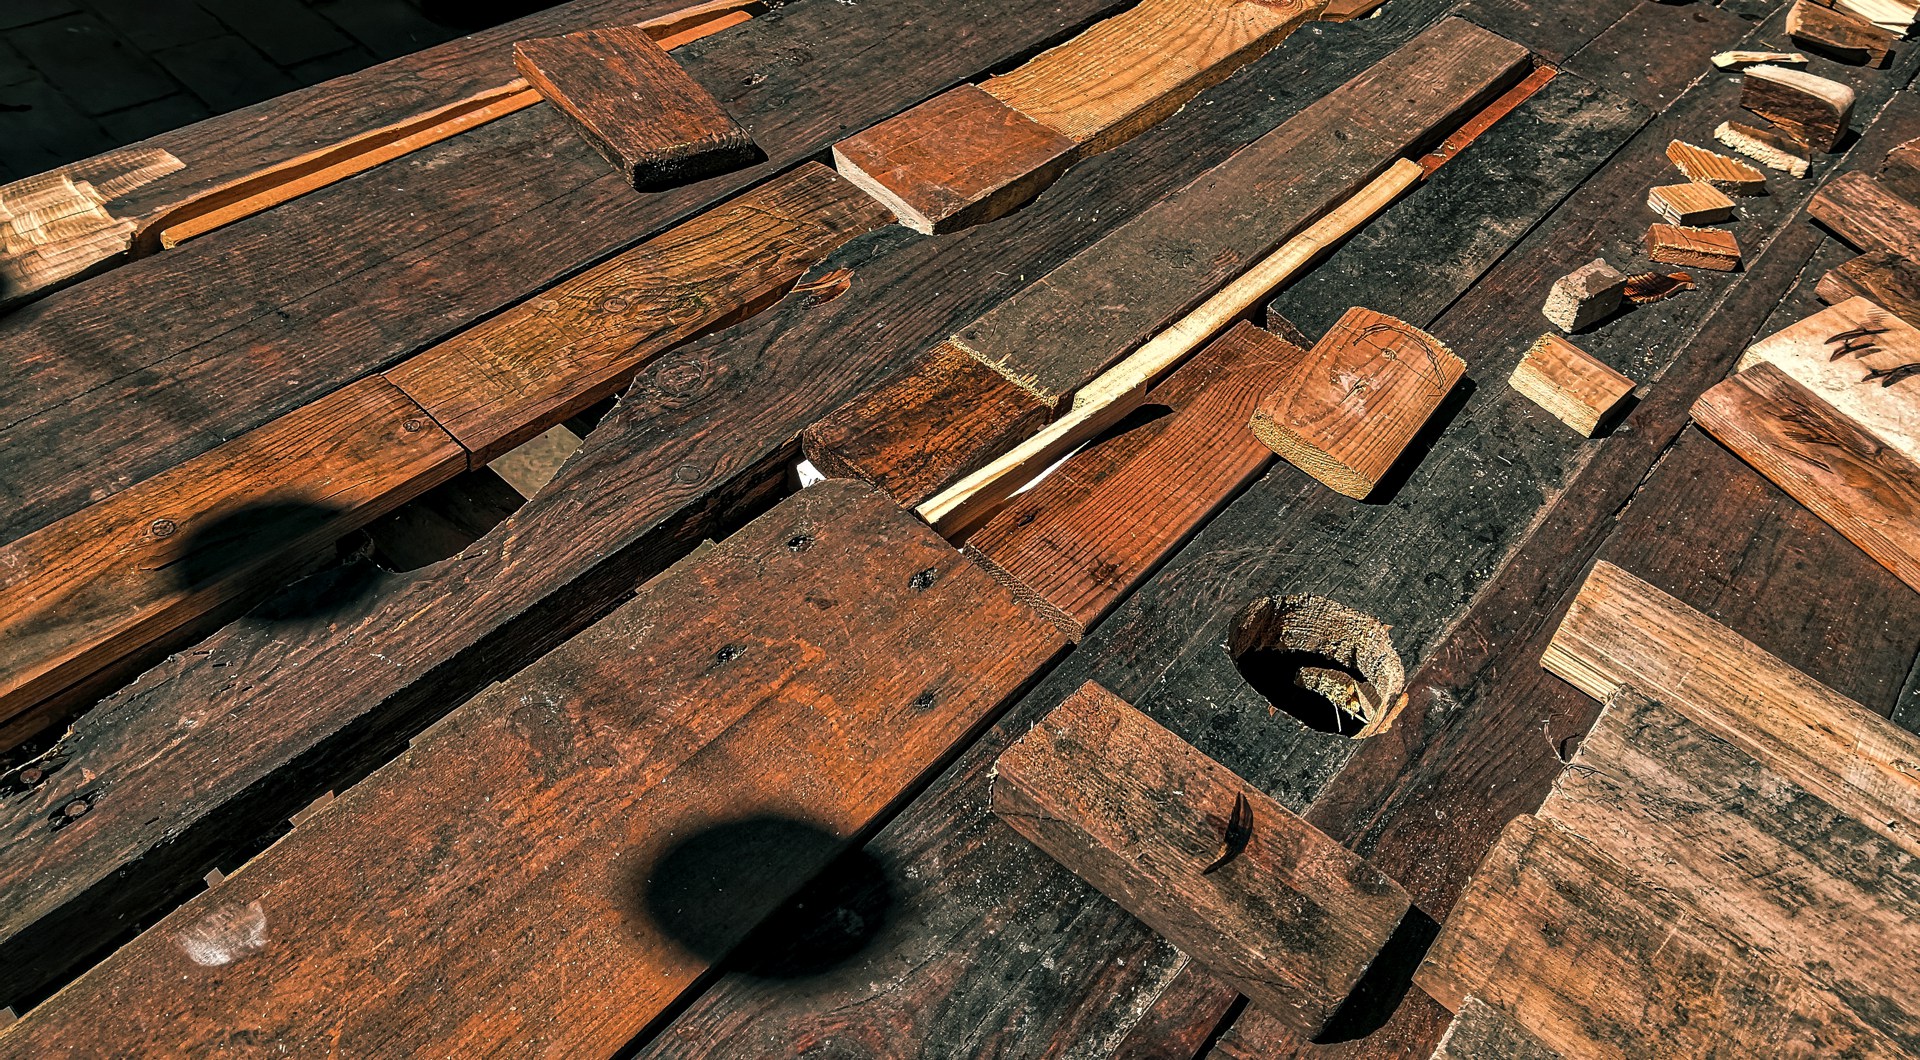
Removal of all rotten, wet, moldy and ruined wood. Performed with jigsaw, hammer and chisel.
STEP 2
Preparation of the pieces of wood to fill the removed parts. With a view to reuse and recycling I took all the pieces of wood I found among the various scraps and leftovers and various tablets, the only goal is to fill in the empty spaces, without thinking about aesthetics or other, just fill the space empty … Honestly for me this is one of the funniest steps: it is without rules and without limits. I don’t give a damn, if the wood matches, if the color matches, if the heights match … all I care about is filling the empty spaces with a patchwork of various pieces. It is funny!
STEP 3
STEP 4
Sanding of the grouted parts and of the whole table. I made this step with a shortbread with the use of flap discs for abrasion of different grain, that is harder and softer. This allowed me to smooth all those parts where the different wood thicknesses were exaggerated. But I didn’t do a surgical job because in my personal taste a garden table made exclusively with reused and / or recycled material must necessarily have its imperfections, this, in my opinion, is the beauty. Like the fruit of the peasants, ugly but good. In this case the table, crude but functional, and if you want a little nice too :)))
STEP 5
Finishing and protection with the application of straw yellow oil. If you want, you can use different types of protective products, including chemicals, glazing agents for wood, etc., but personally I prefer, as far as possible, to use natural products … The beauty of straw-colored olives, apart from the good smell, is that it restores vitality to the wood so beautiful to look at … all the veins and all the shades come out as if it were a 3D projection … I really like it. I usually use the yellow one which in the end is neutral, but I know that there is also red / orange to give an even warmer shade, in short, according to personal taste …
STEP 6
Let’s celebrate! The work is done, of course I applied the same treatment to the seats around the table. Here are some pictures of the result … it is still a pleasure, every time people come to share an evening with bbq, an aperitif .. or whatever it is, to see how this “environment” is welcoming .. People appreciate, and people feel at ease … it’s nice …
